Time for another look on some new hobby material via MV's Miniature Unpacked, but this time it is a mixture of unpacking, testing and some kind of tutorial.
You might know that MV is well known to have a look on very interesting products outthere. Combined with our everyday painting of an average of eight hours since several years, we can also provide a good look on new material with practical experience.
This said, we want to introduce a company to you we really enjoy lately.
Their products are mainly aimed for the hobby of Scale Models, at least this is what their page communicates, but we are sure this will change a lot in the future as their products are also great for our hobby of miniature painting. Let me introduce to you:
Roman did get in contact with one of their products when Battlefield-Berlin sent him one bottle of "Normal Rust" and he got convinced by the result he recieved by using it. Modelmates has no shop on its own and is selling via different dealers in different countries. You can find a list of their retailers here!
Meanwhile we are happy to announce that Modelmates is now official sponsor of MV Painting Classes and participants on our classes can find out why we like their products that much on their own, testing and experiencing them during the classes.
In this review we will take a look on their Verdigris Effect Liquid.
There will be more later on as their list of products is much bigger and MV is in the middle of experiments with them and is recieving very, very cool results.
"Please know that this is just my own experience with these products. I tell you honestly what I do like and don't. I can not assure you that you will make the same experience as you might have a different taste or different requirements than I have."
Roman
______________________________________________________________________________
Every Miniature Painter gets confronted with painting Verdigris some day. If you are painting historical figures, fantasy- or science-fiction-figures or vehicles. It does not really matter one day or the other you want to place some of it somewhere. Material weathers, changes by the influance of its sorrounding world and if you paint copper or bronze there will be the option to make it really old and weathered.
Massive Voodoo has a lot of articles about "Weathering".
You can find even more if you take a closer look into the jungle's article section.
Painting Verdigris properly takes time if you want to recieve a proper result. You can just do it with some normal acrylic colours, using different colours that catch the tone of it and combine them. You can add pigments to it to make it look more dry and dusty. There are some really cool special colours outthere, but I was not yet convinced by any as I was with this product.
ModelMates offers two different bottles of liquid Verdigris Effect: The Blue one on the right (german on the bottle again) and the green one (left, also german on it).
Testing
We are about to do the same tests as we did with in Rust Effect Review.
White paper and just getting it out of the bottle. Same procedure.
Very important is to use an older brush for it, do not take your new Windsor&Newton for it. Shake the bottles well. They have a metal ball inside to really get everything inside mixed up properly. Shake until you hear the ball and then shake some more. Shake it like a saltshaker!
blue (left) - green (right)
Closer look. Blue.
Closer look. Green.
Doing some wild tests with each of them.
Placing them on top of eachother, thinning them with water.
Combining both for absolut mad testing.
Well, so far so good. Tthis is just the initial test and hell yeah it was fun, you can believe that. What I was learning in between is that you should not leave your bottles open as the upper border, touched by air starts to dry. Take care of that, don't forget to close your colours when you are done with using them.
Checking the effect on white paper is not bad, but there shall be a test on metal parts too.
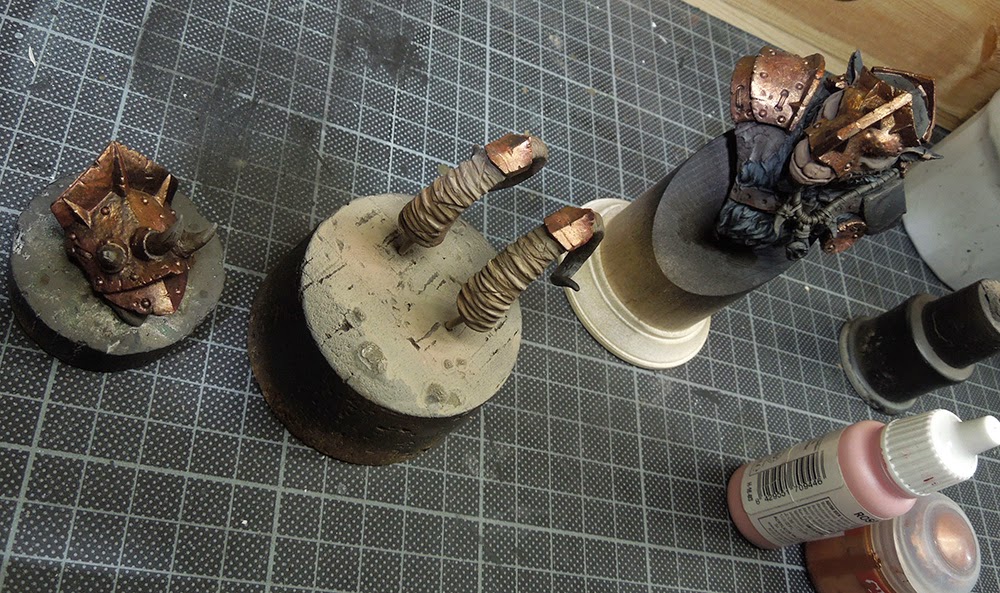
I am painting up one of Forged Monkey's upcoming releases at the moment and my decision to paint weathered bronze was made.
Please remember that the photos which are shown here are Work in Progress. In the future of Massive Voodoo's year of the painter you will find a complete step by step of this bust. This is just a cutout of the whole step by step.
The bronze was painted with different metal tones, not to final finish but to a good point where the Verdigris could come into play:
I started to place some green verdigris effect on the metal parts. Important is that you make yourself some thoughts where Verdigris appears. Kind of same with rust, if the material is truly weathered it starts in the areas where water will flow and stays. I played with different stages of dillution here and recieved a result that convinced me on one hand and on the other hand made me go "Oh no!!" as it looks pretty strong.
The next step was to check back with one piece and I took the shoulder pad. So from my initial tests I realized that the green is darker than the blue one. If you now keep in mind that Verdigris looks like this in real:

You can see by looking at it, that the bright areas start in the center of the effect. The metal changes, gets dark first and then gets brighter. So I chose to start with the bright one, blue verdigris effect first in my next example.
Next I used the green and tried to place it around the bright areas.
Honestly at the moment in this test it looks like a big mess, but I had a plan. I really think it came out way too bright for my personal taste on this first application.
I kept in mind what I learned from the rust effect product:
"It also says on the bottles that these effects are water soluble. That is a nice thing to know. It means if you apply it to a surface you are still able to work with it. You can pull it, damp it, even remove most of it when using time and water. Makes your tests less dangerous. If it is dry you can not easily rub it off with your fingers. Cool thing is, as soon as another layer of colour gets on top of it, for example a glaze or a wash, it is fixed."
So, ok I am up to that, but I want it darker in the same step. Why not use a coloured wash, for example Army Painters Strong tone. Take care that you don't use too much as you don't want to kill the metal that you have painted.
I was more happy with that result and applied it in that manner to all the metal parts of the bust. Still I am very convinced of the quickness of this effect. The metals are not done yet, as is the whole bust and I am sure that there will be also some work ahead on the verdigris, some detail application here and there, but for the test this product recieved my thumbs up.
Be sure to see the full process on the bust in an upcoming step by step in your daily miniature jungle.
What I really enjoy about the Modelmates products are their own guides on their page. Really check those to see in how many different ways you can apply the rust effect.
Examples
Well, testing went well I would say.
Let's check out other results where this effect came into play on other figures.
Sebastian made a base during the painting class in Forchheim.

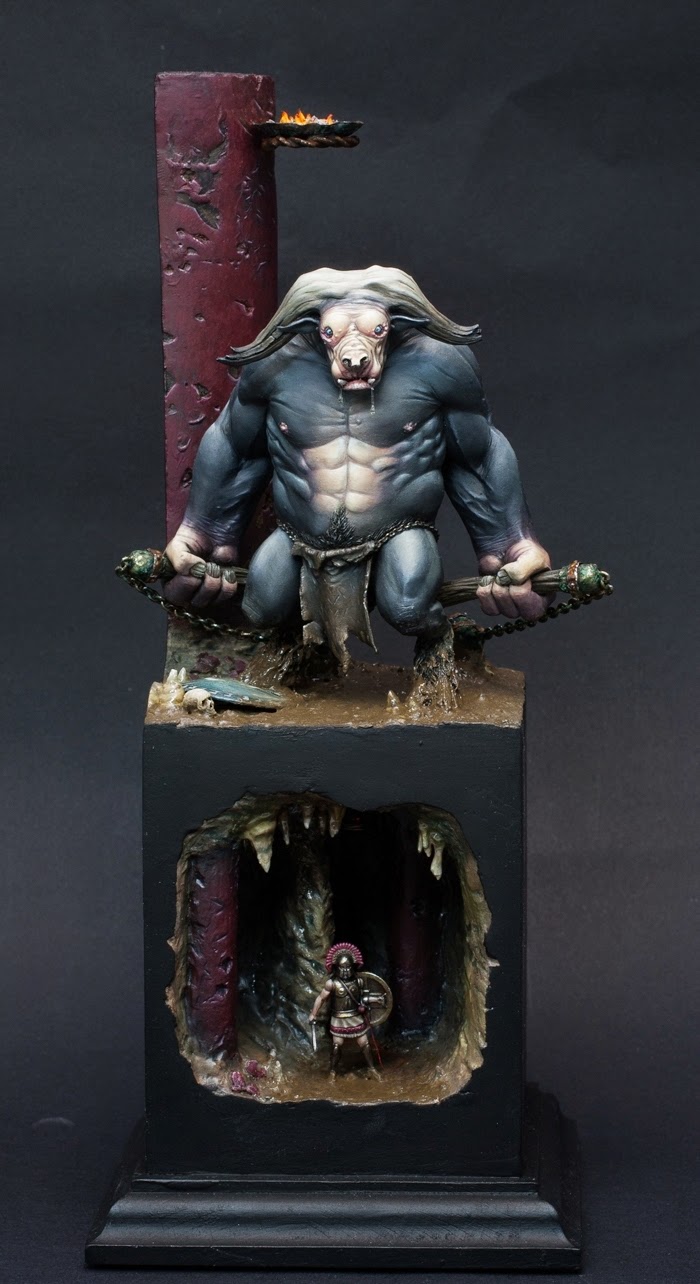
Peter used it on his cool version of Allan Carrasco's Minotaure, combinded with the liquid rust effect by ModelMates:
Kyle used it on his Maulg during our private coaching, see at the flamethrower- check M R Lee's Painting Emporium for much more!
You will find it used here on one of Roman's latest pieces: The Dragon Priest.
Used on very small areas on his necklace.
Personal Closing words
This all sounds like a big praise and well it is, but I want to give you my personal thoughts on it too. I really enjoy the Verdigris product of ModelMates as it offers a lot of variety in the way you use it. What I also love is that it saves time. I think there is still a lot to test by using it for more projects, see it combined with already known techniques. I think this is just the tip of the iceberg on how you can use that product.
Meanwhile I am doing more process on Forged Monkey's - soon to be released - bust, working further on the Verdigris and other parts, which process will be shown in a future step by step of the whole piece, still a lot of work ahead, but this bust is definatly fun(sorry for the blurry photo, quick shot with the mobile):
on the new Examples that dropped in.
Next review on ModelMates products will take a look on the so called "brick filler", used on one of Raffa's upcoming bases:
So far,
keep on happy weathering!
Best Wishes
Your Massive Voodoo Team


Yeah, nice review! I'm using the Rust-Effect at the moment for the same bust. It's very very interesting to use and to experiment with. For a small price you get a good way to achive nice effects :)
You are spoiling us! Now I have to buy the rust and verdigris effect!!!
@Kraan you are right to do so , this stuff is great !!
Indeed.
Has been renames as Dirty Down:
https://dirtydown.co.uk/product/water-soluble-paint-verdigris-effect-small-25ml-pot/